What is the step-by-step preparatory process? How is the design phase and what elements does the photovoltaic installation include? We present 10 basic steps that must be followed for the flawless assembly and full functioning of the photovoltaic installation.
1. Plot selection and building location.
An important aspect when choosing a plot of land taking into account a building with a photovoltaic installation is shading. It is best that in the vicinity of the future building there are no tall plantings covering the roof or part of it. More on shading in our post How does the shading of solar panels affect the efficiency of the installation?
A shadow cast on the PV panels will reduce the yield of energy produced by the PV system.

2. Determining the annual energy consumption of the building.
When installing a PV system on the roof of an existing building, determine the annual electricity consumption based on bills from the last few years and assess whether the consumption is increasing, decreasing, or is it quite constant.
Planning of installations in new buildings is based on an estimate of electricity consumption based on planned electrical equipment.
3. Planning of the roof structure.
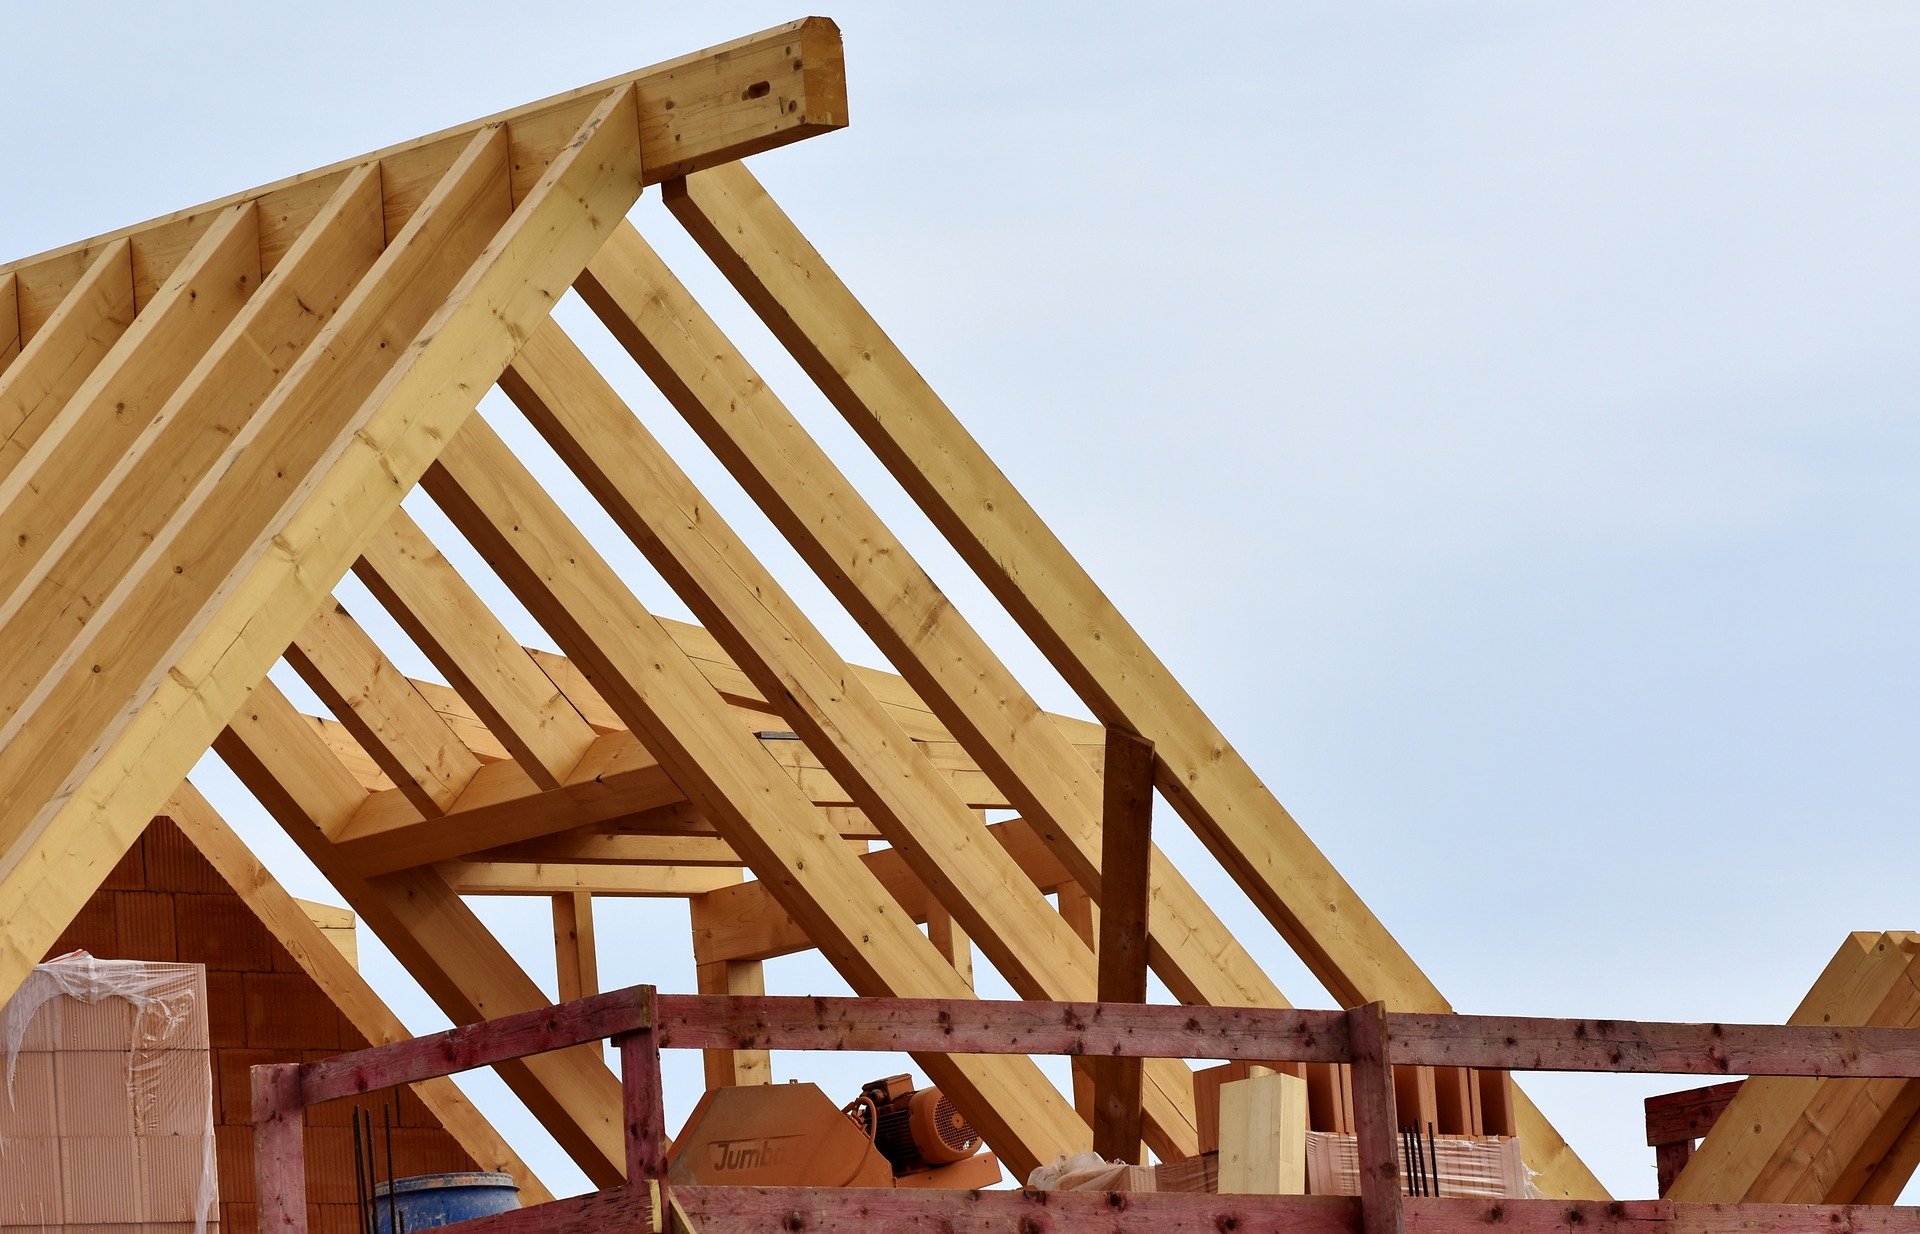
The construction of the roof in the solar installation plan is of great importance. A single-pitched, gable or flat roof will save costs associated with the construction of the photovoltaic installation frame.
The best location for a PV installation is the south side of the roof and an angle of 20-45 degrees. Such a positioned installation will allow for the highest annual electricity production.
Losses based on the position of the panels are usually 5-10% in the case of a slight slope error above 45 degrees and 15-25% of the yield loss due to the use of the roof slope on the west or east side of the building.
4. The planned size of PV installation/roof covering.
In a situation where the installation modules will cover a significant part of the roof, you can consider the option of purchasing cheaper roofing. In such a situation, e.g. a bituminous tile will be suitable.
5. Selecting the location of the inverter.
When planning the installation of the inverter, take into account such locations as:
- boiler,
- garage,
- cellar.
Do not locate the inverter:
- on the walls adjacent to the bedroom,
- in the corridor,
- in rooms where the ambient temperature exceeds 35 degrees,
- in storage spaces, wardrobes – places with limited air exchange.

6.Preparation of places for cable routing.
Already at the design stage of the house, taking into account the photovoltaic installation, it is worth preparing places for future cables. This will reduce surface-mounted installations. At this stage you should:
- plan a place for the installation of AC surge protection, over-current protection and an additional energy meter that will manage the surplus energy,
- place the inverter near the electrical switchboard – no further than 10 m,
- provide insulation for the wires connecting the DC protections with the PV panels,
- prepare access to the grounding terminal near the inverter,
- provide a place for an additional certified switchgear for 1000V DC voltage.
Photovoltaics in your home will allow you to save a lot. Planning it at the house design stage and choosing a plot is a great help.
And more on how to prepare a plan to build a house with a solar installation in our post How to plan the construction of a house taking into account the photovoltaic installation?


